how to make personalized bunting flags

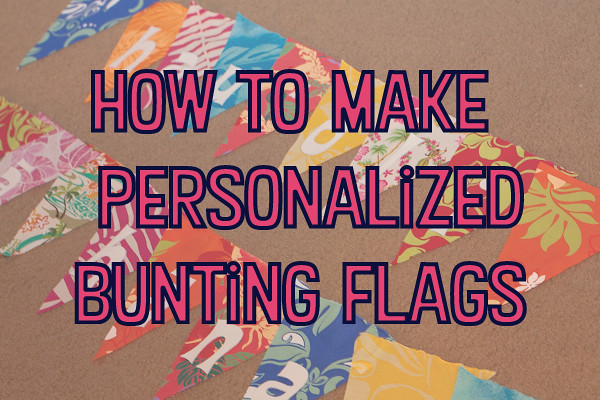
I made this personalized bunting flag for Miss L’s 1st birthday and wanted to share with you some easy DIY directions for making your own personalized bunting flag. I’m pretty certain that we’ll be using for all future birthday celebrations in the house (um, why not?) for the near future!
Here’s the instructions for making your very own personalized bunting for the future!

Materials:
Freezer Paper
Felt (or another fabric for the letters)
Fabric for front and back of bunting
Double Fold Binding tape (or make your own)
Step 1: Design your letters in an editing program of your choice (MS Word, Illustrator, Photoshop, etc.) Use an outline style to minimize the ink needed to print and arrange for them to be printed on an 8.5”x11” sheet of paper.
Step 2: Cut 8.5”x11” pieces of freezer paper. Print your design on the non-waxed side of the freezer paper.

Step 3: Iron the freezer paper to your felt (or whatever fabric you’re using for the letters). You’ll find this makes the fabric really easy to cut and eases any trouble you might encounter from cutting and tracing patterns.

Step 4: Cut out your letters!
Step 5: Cut your front fabric into bunting triangles. The easiest way to do this is to cut your fabric into the widths you want (I just seam ripped), then make a template that simply flips from side to side. (Here’s a great template from nunde that allows you to create different lengths!)
You also need to cut the “back” fabric as well. In this case, I used plain muslin for every triangle.
Step 6: Arrange everything to make sure you like the looks of what you’ve got. Pin the felt letters to the front bunting triangles.

Step 7: Using the sample color thread as the felt letters, sew the letters to the triangle using a blanket stitch or a straight stitch.
Step 8: Sew the front and back fabrics together at the sides, making sure that the letter is facing inwards.
Step 9: Arrange and pin all of your bunting triangles together using the bias tape. (For a cheaper option, simply cut thin strips of your backing fabric and iron in a fold) Use a straight stitch to grab all of them together!
Step 10: Hang it up and admire your hard work!


6 Comments
HamiHarri
I was very impressed with your sewing when you first posted a photo of these :) Well done! I think you should totally attempt a quilt. I could be a little lap quilt for Miss L – I think it would turn out so well :)
serena
This is SO cute! I am horrible at anything fabric or sewing related (I can’t sew a straight line if I tried), but I think my mom could tackle this ;)
Amber
Adorable! I wish I had those skills! I can’t even sew a button (WHY did Paul marry me again??)! You are the funnest mom ever.
Michelle
I am the antithesis of crafty (as I’m sure you will recall from my tenure on WB) and as such am constantly amazed by what you are able to create. This is such a cute idea and seemingly pretty simple. I love it and agree with Amber, you ARE the funnest mom ever.
Carly
How cute! Thank you for this wonderful tutorial. I’m bookmarking it for future use. :)
Charmi
Adorable! I’ll book mark this for a future 1st birthday :)