create your own solar lantern
It’s getting to be that magical time of the year where the warmth of the sun is enjoyed long after the sun sets, and the cool Delta breeze makes its way into the valleys. I might complain about the 100+ degree heat waves, but when you’re enjoying 80 degree nights at 9pm, it’s just awesome.
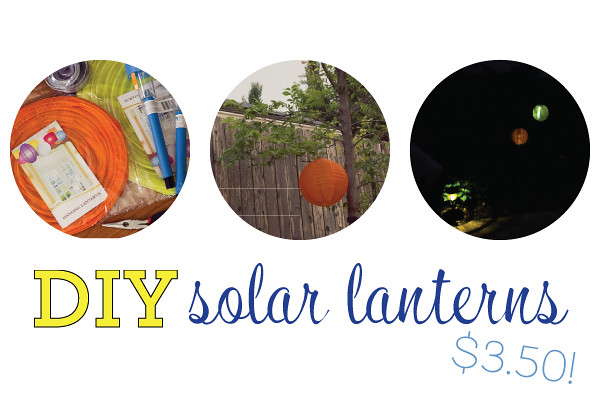
I’ve been wanting to add some color to the backyard landscape, and looked into the idea of some solar lanterns to hang on the fence and in a couple of trees. But when I saw the prices at upwards of $15 each, I quickly stopped looking. It only took a random glance at these cheap $1 solar lights from Dollar Tree (when I was buying bubbles) for my brain to think of a way to hack my own solar lanterns. An online order to the bay-area based Paper Lantern Store later… we were in business! And my hacked version = $3.50/lantern!
Here are the easy steps to making your own solar lanterns:
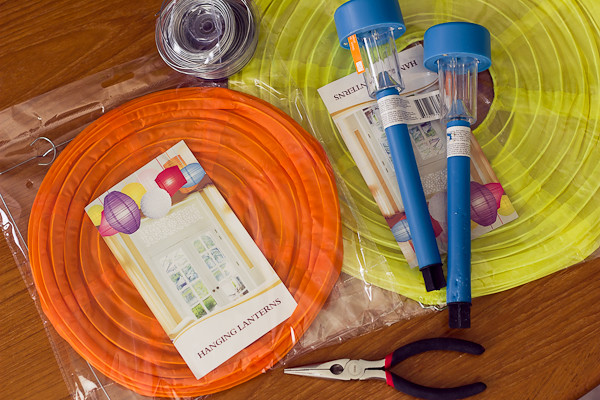
Supplies:
nylon hanging lanterns (source: http://www.paperlanternstore.com/)
solar lights (source: Dollar Tree)
wire
needlenose pliers
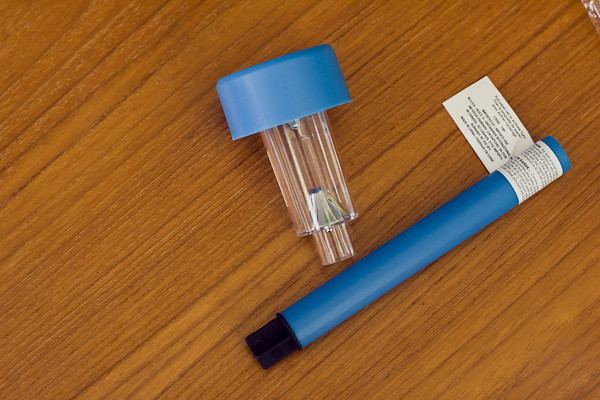
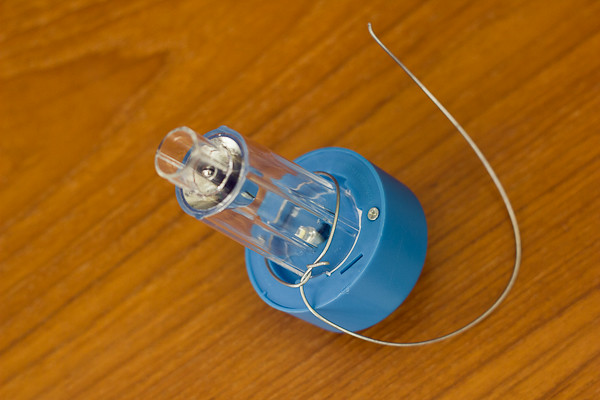
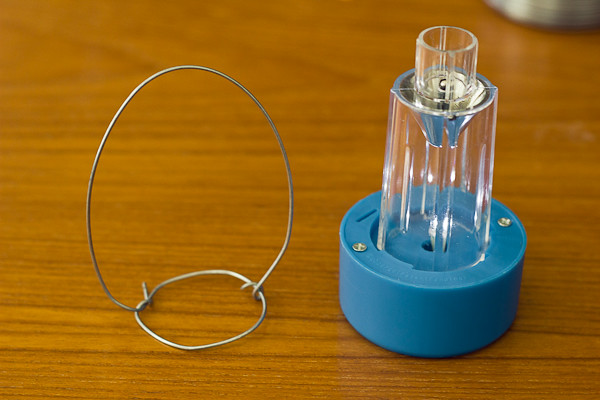
Disconnect the light from the base.
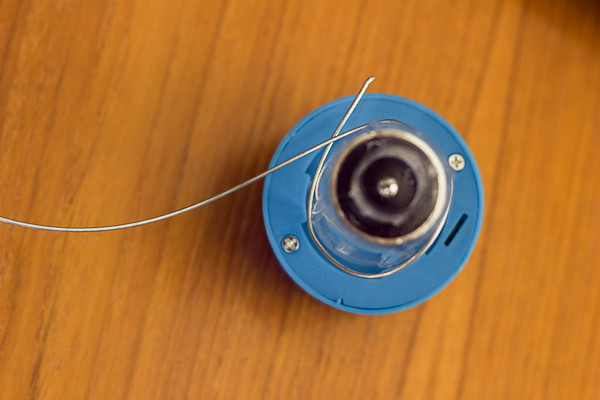
Wrap your wire around the light, just below the battery casing.
Tuck the wire in and pinch it. Then wrap the wire over the TOP of the battery casing and to the opposite side of the light. Cut and attach it to the wire circle.
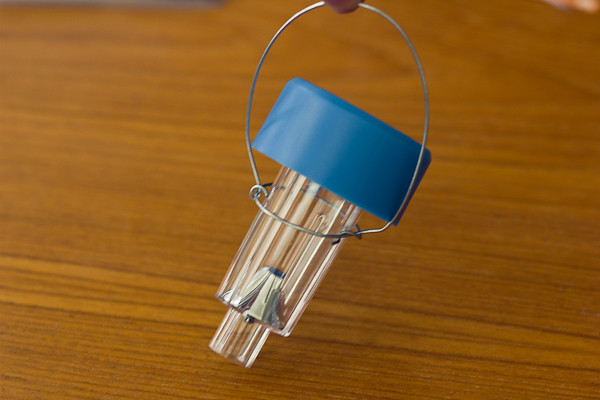
You’ll end up with this little hanging basket for your solar lamp casing.
Slip the light into your hanger.
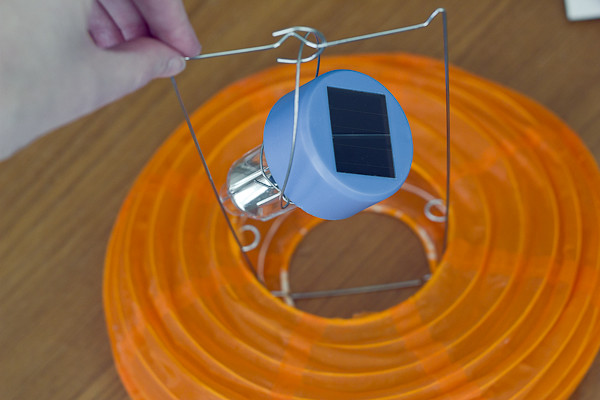
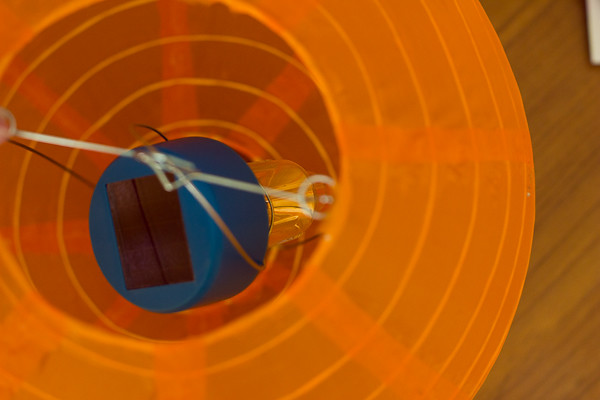
Begin to assemble your nylon lantern. Stand up the metal frame in the middle of the lantern, and hang your light up. Pop up the lantern around your frame and secure it.
Your light will be hanging below. For extra security, use the needlenose pliers to bend the metal hanging into a hook.
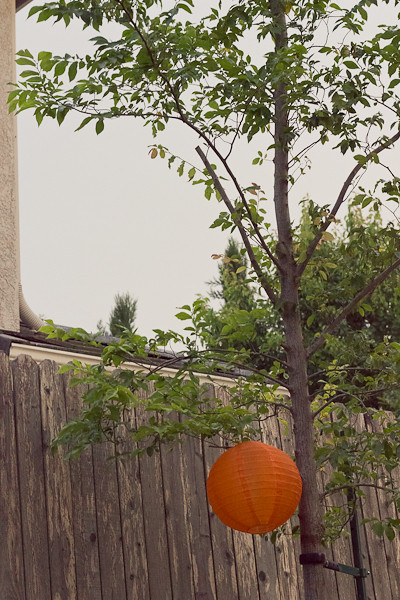
Hang your lantern outside… you can use the hook at the top directly, or tie another wire to make an eye loop for hanging.
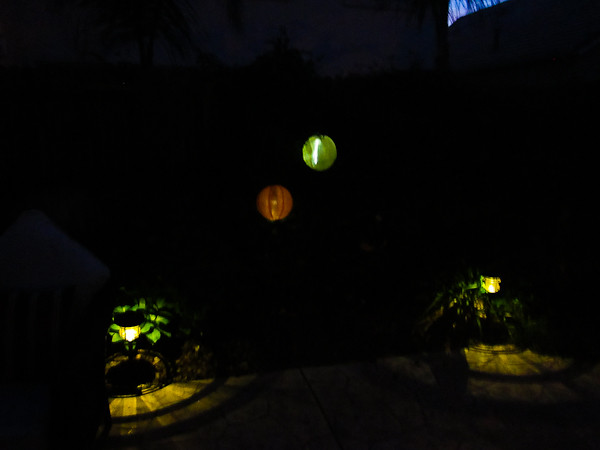
Then… wait for the dark…
… and enjoy the glow!



One Comment
OKC Mom of 3
This is such a cute idea. With your great pics & instructions I could even do it. And hopefully they won’t blow away in the wind ;-)
Saw you on the Bloggers Brags Weekly Pinterest Party, following you on social media too